
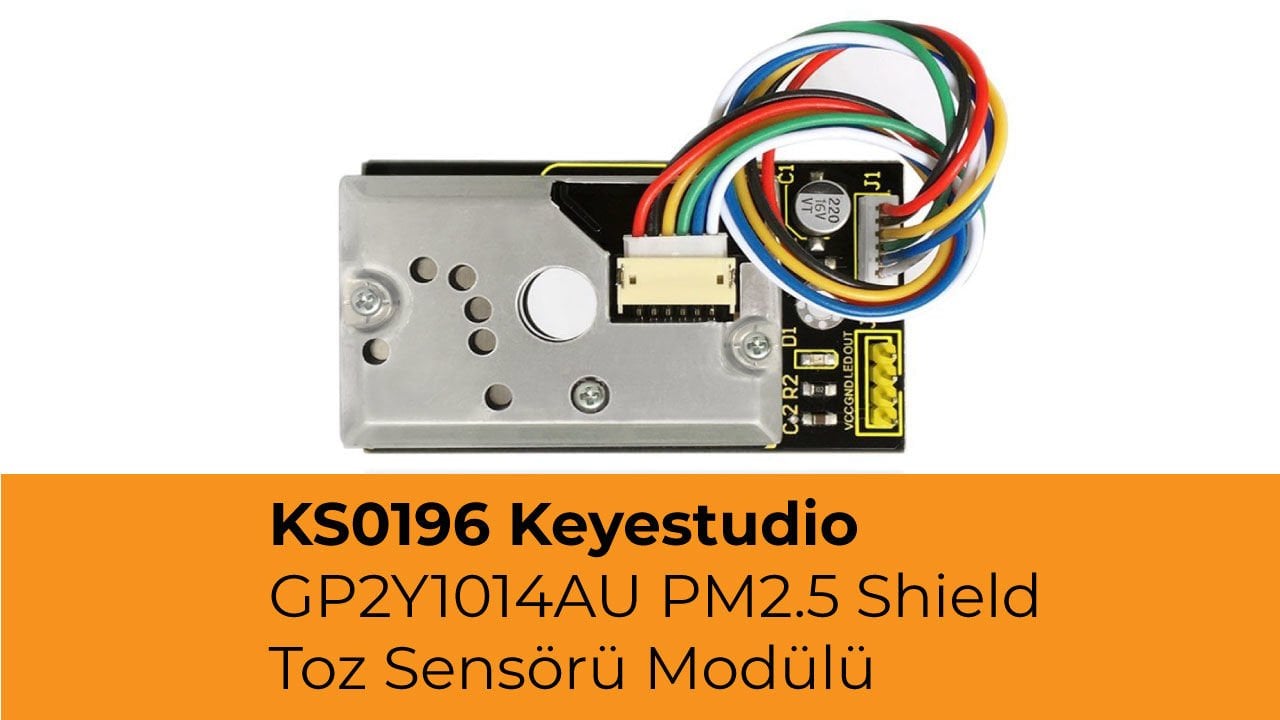
KS0196 Keyestudio GP2Y1014AU PM2.5 Shield Toz Sensörü Modülü
19-01-2021
11:12
Nasıl kullanılır
Bir Mikrodenetleyici ile çalışma durumunda:
- VCC --------- 3V-5V
- GND --------- GND
- LED --------- MCU IO (modül tahrik pimi)
- OUT --------- MCU IO (analog çıkış)
Bağlantı şeması
- Proje 1:

- Proje 2:

Örnek Kod
- Click here kütüphaneleri indirmek için;
- Click here kodu indirmek veya aşağıdaki kodu doğrudan kopyalamak için.
- Aşağıdaki kodu kopyalayıp şuraya yapıştırın: Arduino IDE.
- Proje 1 Kodu:
//pressing nothing to display value of analog revolving potentiometer
#include
#include
LiquidCrystal_I2C lcd(0x27,20,4);  // set the LCD address to 0x27 for a 16 chars and 2 line display
int measurePin = 0; //Connect dust sensor to Arduino A0 pin
int ledPower = 2;   //Connect 3 led driver pins of dust sensor to Arduino D2
int samplingTime = 280;
int deltaTime = 40;
int sleepTime = 9680;
float voMeasured = 0;
float calcVoltage = 0;
float dustDensity = 0;
void setup(){
  lcd.init();                      // initialize the lcd
  lcd.init();
  // Print a message to the LCD.
  lcd.backlight();
  lcd.setCursor(0,0);
  lcd.print("Raw Signal Value: ");
  lcd.setCursor(0,2);
  lcd.print("Voltage:");
  lcd.setCursor(0,3);
  lcd.print("Dust Density:");
  pinMode(ledPower,OUTPUT);
}
void loop(){
  digitalWrite(ledPower,LOW); // power on the LED
  delayMicroseconds(samplingTime);
  voMeasured = analogRead(measurePin); // read the dust value
  delayMicroseconds(deltaTime);
  digitalWrite(ledPower,HIGH); // turn the LED off
  delayMicroseconds(sleepTime);
  // 0 - 5V mapped to 0 - 1023 integer values
  // recover voltage
  calcVoltage = voMeasured * (5.0 / 1024.0);
  // linear eqaution taken from http://www.howmuchsnow.com/arduino/airquality/
  // Chris Nafis (c) 2012
  dustDensity = 0.17 * calcVoltage - 0.1;
  lcd.setCursor(1,1);
  lcd.print(voMeasured);
  lcd.setCursor(9,2);
  lcd.print(calcVoltage);
  lcd.setCursor(14,3);
  lcd.print(dustDensity);
  delay(1000);
}
- Proje 2 Kodu:
int dustPin=0;
float dustVal=0;
int ledPower=2;
int delayTime=280;
int delayTime2=40;
float offTime=9680;

void setup(){
Serial.begin(9600);
pinMode(ledPower,OUTPUT);
pinMode(dustPin, INPUT);
}

void loop(){
// ledPower is any digital pin on the arduino connected to Pin 2 on the sensor
digitalWrite(ledPower,LOW);
delayMicroseconds(delayTime);
dustVal=analogRead(dustPin);
delayMicroseconds(delayTime2);
digitalWrite(ledPower,HIGH);
delayMicroseconds(offTime);

delay(1000);
if (dustVal>36.455)
Serial.println((float(dustVal/1024)-0.0356)*120000*0.035);
}
Sonuç
- Proje 1 için Sonuç:

- Proje 2 Sonucu: Aşağıda gösterilen değeri almak için seri monitörü açın.

Hava kalitesine kıyasla veriler:
- 3000 + = Çok Kötü
- 1050-3000 = Kötü
- 300-1050 = Sıradan
- 150-300 = İyi
- 75-150 = Çok İyi
- 0-75 = Tiptop
Kaynaklar
- Kitaplıkları ve test kodunu indirin:
https://fs.keyestudio.com/KS0196